
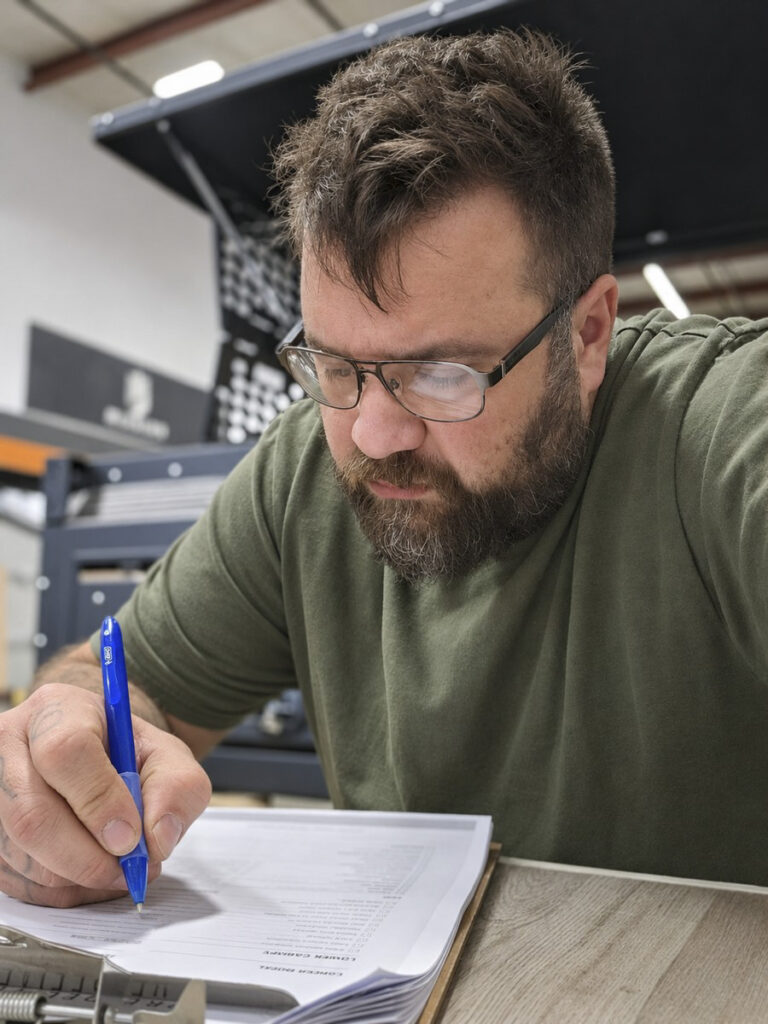
A truck camper pre delivery inspection is where an exciting new build becomes a rig you can trust. Before you load bikes, recovery gear, hunting equipment, or a week’s worth of food, inspect the camper where it sits on your truck. This is the time to confirm the fit, test every system, and get clear answers while the installer, dealer, or builder can address anything that is not right.
A proper inspection is not about hunting for cosmetic perfection. It is about making sure your camper is secure, weather-ready, functional, and matched to the way you actually travel. A missed latch, loose ground, poorly routed wire, or overloaded truck can become a real problem several hours down a forestry road.
Start the Truck Camper Pre Delivery Inspection With Fitment
The camper and truck need to work as one unit. Begin by looking at the installation from every angle with the camper loaded exactly as it will be for travel. Check that the camper sits level from side to side and is centered in the bed or on its mounting system. Uneven placement can cause rubbing, poor tailgate clearance, uneven tie-down loading, and a truck that handles differently on the highway.
Look closely at every attachment point. Tie-downs, brackets, turnbuckles, bed mounts, canopy clamps, and bolts should be properly tensioned and free of interference. Nothing should be pressing against brake lines, wiring harnesses, painted body panels, or the truck’s fuel-fill area. Ask which fasteners require a re-torque after the first trip. Most equipment settles slightly after initial use, especially when it has seen washboard roads and temperature swings.
Open and close the tailgate if your setup allows it. Confirm that doors, drawers, side access panels, and pop-up sections clear the cab, bumper, taillights, and any rack system. If the camper changes rear visibility or blocks the factory backup camera, make sure the alternative camera system works before you leave.
Truck payload deserves an honest conversation here. The camper’s dry weight is only the beginning. Add water, battery capacity, propane, fridge contents, tools, recovery boards, bedding, and the gear that lives in the truck bed. A lightweight canopy camper can preserve far more payload than a conventional slide-in, but every truck has limits. Confirm axle ratings, tire load ratings, and the final loaded weight rather than relying on an optimistic dry-weight number.
Inspect the Structure, Seals, and Security
A camper built for real travel should feel solid when you put hands on it. Walk around the exterior and inspect panel seams, roof transitions, windows, doors, storage hatches, and corner joints. Sealant should be continuous, clean, and fully adhered. There should be no open gaps, pinched gaskets, loose trim, or exposed fasteners where water can enter.
Operate every latch several times. Storage doors should close squarely, lock positively, and stay shut when pulled. A secure camper is not just about keeping gear away from opportunistic theft. It also keeps heavy equipment where it belongs when the trail gets rough. Check that keyed locks have the correct keys, and make sure you know whether different compartments use separate keys.
For a pop-up truck camper, raise and lower the roof more than once. Watch the fabric or soft-wall material as it deploys. It should not snag, bind, fold into the seal, or contact sharp edges. Inspect the roof latches and confirm the roof is fully locked for travel. If the roof uses powered lifting, run it from the battery and verify the manual backup procedure. A lift system is only useful in the backcountry if you know what to do when a fuse blows or battery power is low.
Do not skip the roof. Ask to see it, or use a safe step platform where appropriate. Check roof seals, rack mounting points, solar penetrations, awnings, vents, and any accessory tracks. If you plan to carry a rooftop tent, canoe, recovery boards, or a cargo box, confirm the system’s actual dynamic and static load limits. Those numbers are not interchangeable.
Test Electrical Systems Under Load
Turn on every electrical system before delivery. That means interior lights, exterior scene lights, charging ports, water pump if equipped, fridge circuit, fans, heaters, solar controller, DC outlets, inverter, cameras, and any accessory wiring. A light that turns on is a start. The real test is whether the system stays stable when several items run together.
Ask for a clear walkthrough of the battery system. Know the battery chemistry, usable capacity, main disconnect location, fuse panel location, solar-controller readings, and charging sources. If the camper charges from the truck, confirm the connection is live and that the cable is protected from abrasion, heat, and suspension movement.
Inspect wiring underneath the camper and in the truck bed. It should be secured away from exhaust components, sharp metal, moving driveline parts, and areas where gravel spray can damage it. Connections should not hang loose below the chassis. A clean wiring job is easier to troubleshoot and far more likely to survive rough roads.
If your build includes 120-volt shore power, test the outlets with shore power connected and verify that the charger is operating. Confirm which outlets are live from an inverter, if one is installed. This matters when you are planning to run a laptop, medical device, camera batteries, or induction appliance away from a campground.
Check Water, Heat, and Ventilation Before You Need Them
Water systems should be filled, pressurized, and checked for leaks at delivery. Open every faucet, run the pump, inspect fittings, and look inside storage areas for drips. Confirm where the fresh-water drain and low-point drains are located. In freezing conditions, understand the winterization process before the first cold night catches you unprepared.
For a heater, test startup, steady operation, and shutoff. Listen for unusual cycling or fan noise. Verify that vents are clear and that you understand fuel requirements, battery draw, altitude limitations, and required maintenance. A heater makes shoulder-season travel comfortable, but it also adds a system that deserves regular attention.
Ventilation is just as critical. Open windows, roof vents, and screened panels. Check that they lock securely and seal tightly. Condensation is part of cold-weather camping, especially when two people are sleeping in a compact space. Good airflow, insulated surfaces, and a practical routine for drying gear will make the camper far more comfortable than simply adding more heat.
Confirm the Equipment You Ordered Is Actually There
Delivery day moves fast. Use your build sheet or sales order and compare it against the finished camper. Verify colors, sleeping configuration, mattress size, roof rack components, battery upgrade, solar capacity, lighting, awning, fridge slide, storage modules, accessory mounts, and any wiring provisions for future equipment.
Do not accept “it is prewired” without identifying the wire ends, fuse location, connector type, and rated capacity. Prewire can mean different things depending on the builder. If you plan to add a communications antenna, rear work lights, compressor, or portable solar later, this information prevents unnecessary rework.
This is also the right time to ask what is included in the handoff package. You should leave with keys, manuals, warranty information, component serial numbers, basic maintenance intervals, and a clear service contact. Take photos of the routing for wiring, water lines, and mounting hardware while access is easy. Those photos can save time months later.
Take a Short Road Test Before You Commit
A road test is the final practical step in a truck camper pre delivery inspection. Drive city streets, take a few turns, brake firmly in a safe place, and reach highway speed if possible. Listen for rattles, shifting gear, wind noise around seals, or a roof latch that is not fully seated. Check mirrors, backup camera visibility, and headlight aim after the added load.
When you return, inspect the camper again. Open the doors and compartments. Look for movement in stored components, fresh rub marks, loose hardware, or water-system leaks. A small adjustment now is better than discovering it at camp after dark.
Your first overnight should be close to home, not at the end of a remote trail. Sleep in the camper, use the lights, cook if your setup supports it, run the heater or fan, and pack it down in the morning. That one controlled trip teaches you more than a parking-lot walkthrough ever will.
Blindman Overland builds and services campers for people who expect their equipment to work beyond the pavement. Take delivery seriously, learn your systems, and leave with a camper that is ready to carry your gear, protect your sleep, and earn its place on the next long road north.